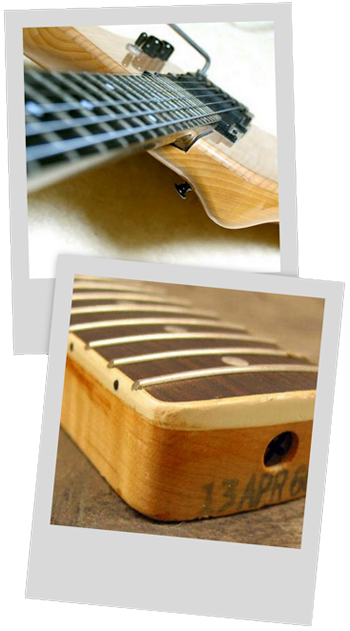
1 The first thing to do when building your neck is too chose a good piece of wood to use (I suggest getting one that you can get 2 necks out of; it is easy to mess up the neck). For more information on the wood go to the wood section.
2 Next you need trace an outline of the necks profile onto the wood. Be sure that you have vertical grain in the end of the block where the heel will be, this strengthens the heel to prevent it from cracking.
3 Then trace the peghead ears (the pieces that you glue onto the peghead) keeping in mind that they need to be the same thickness as the peghead and be about 1” wide.
4 Use a band saw to cut out the neck(s) and the ears. Then using a belt sander square up the top (fretbaord) side of the neck and the peghead.
5 Next you need to cut the grove in the neck for the truss rod. The best way to do this is on a table saw by putting about 3 blades together. Test it on some scrap wood to check, the space cut should be 1/4”. If it is larger remove a blade and open the channel the rest of the way by hand.
6 Next you need to carve out the truss rod pocket (the space where the nut on the end of the truss rod goes). You can do this by hand or with a mill and pilot shaft. Also you need to cut the filler pieces (these make the channel straight and then cover the top of it back to the fretboard). You will also want a few plastic straws.
7 The truss rod is a 3/16” hardened steel rod, it is 20” long and it supports the neck. You will also need to thread the end about 1” in at a 10-32 die and bend the other end into an L shape. Then get a 3/16” SAE washer and a thick 10-32 thread brass nut. Remember when installing the truss rod that the nut rests firmly against the pocket. To mark where the rod loosen the nut a little and lay it against the pocket then turn the L inside and tap a mark into the track so that you can drill in the right spot. When you drill the hole for the end of the truss rod it’s good to go all the way through. Then cover the rod with the straws and using the filler pieces glue it all into place with filler wood on top and bottom. Use C-clamps to keep everything in place then sand off the excess glue and filler with the belt sander.
8 Then using C-clamps glue on the ears and draw out the fretboard plane and also mark the holes for the neck fastening hardware. Drill the holes the width of the machine screws then do the Irwin drill to make the counter sink. Then use either a steel bar or socket and the force of a C-clamp or a drill press to push a “T” nut into the hole.

9 Then choose the peghead veneer you want and trace you design on it and then glue it to the peghead. Then using a band saw cut the peghead and the neck out using the lines from the fretboard outline. Then rough cut the round shape of the back of the neck, theis is the part where it is easy to cut to thin and then ruin your neck so take it slow and carful.
10 Then drill out the holes on the peghead for the machine pegs.
