- Any web compatible image (jpg or gif preferred)
- Some kind of text editor like Notepad or Text Edit
- A little patience
Feel free to click on any of the pictures for a larger example.
![]()
- First things first--organize your junk. Create a new folder for the root of your website (i.e. "korys_tutorial"). Then, create a subfolder under the root folder called "images". It should look something like this:

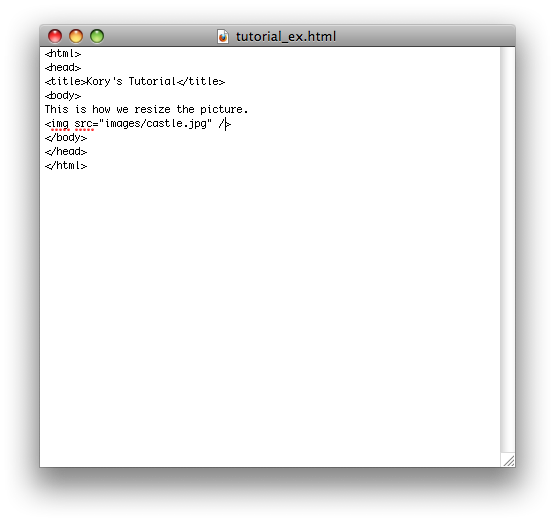
- Next, you need to create your page. Go ahead and open your text editor and start with the basics: html, head, title (give your site a name), and body. You'll want to make sure to change your text from rich text to plain text under "format". Now, just for the fun of it, add something profound to your body like, "This is how we resize the picture." When you're done, your text editor should look something like this:

- Now save your text file. Go to file>save as and name your document tutorial.html--make sure to save this to your root folder.
- Now it's time to insert your picture. When inserting your picture, you'll use the image tag with the "src" attribute. The code will look like this: <img src="folder where picture is/image name.jpg" />. Mine will specifically look like this: <img src="images/castle.jpg" />. Here's what the end result will look like in your text editor and website:

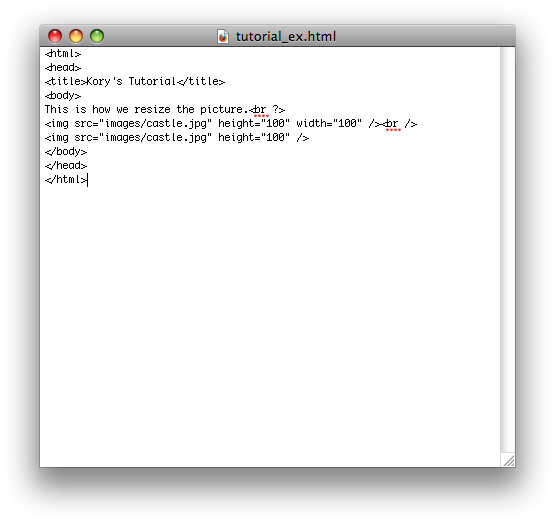
- As you can see, my picture is huge. So, there are two ways we can approach this, which I'll cover in the next two steps; both have their benefits and downfalls. First, I'll show you how to constrain an image to a desired size. To do this, you'll use the attributes "height" and "width". The code is simply as follows: <img src="folder/image name.jpg" height="desired height" width="desired width" />. This comes in handy when creating quick thumbnails that you want with in specific dimensions. The down side is that the picture no longer stays in proportion. So, for instance, if I wanted a thumbnail of my picture at 100px by 100px, I would use the following code: <img src="images/castle.jpg" height="100" width="100" />. Which would produce something that looks like this:

- Next, we'll scale down the photo proportionally... which is even more simple. Simply type the exact same code, but choose either the height or the width only because the web browser will automatically change the other variable. For example, my code would look like this: <img src="images/castle.jpg" height="100" />. Here's what the code would look like and then the final result:
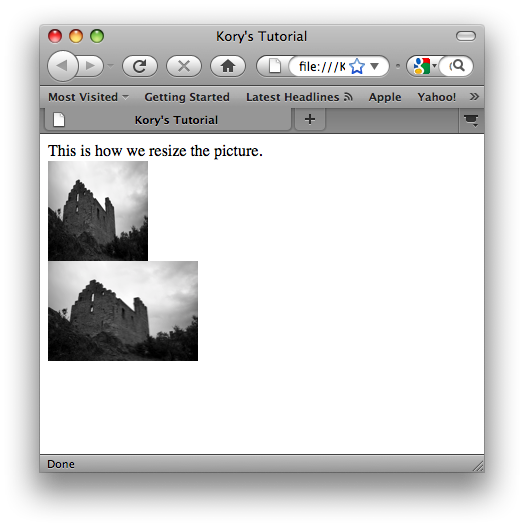
- Finally, save your HTML file, and preview in any web browser.
![]()
-
Now go out there and apply this to something that is actually worthwhile! For more about me, check out my blog at koryfenton.blogspot.com